By Alana Acuff, Matthew Capece, and Tucker Hlad
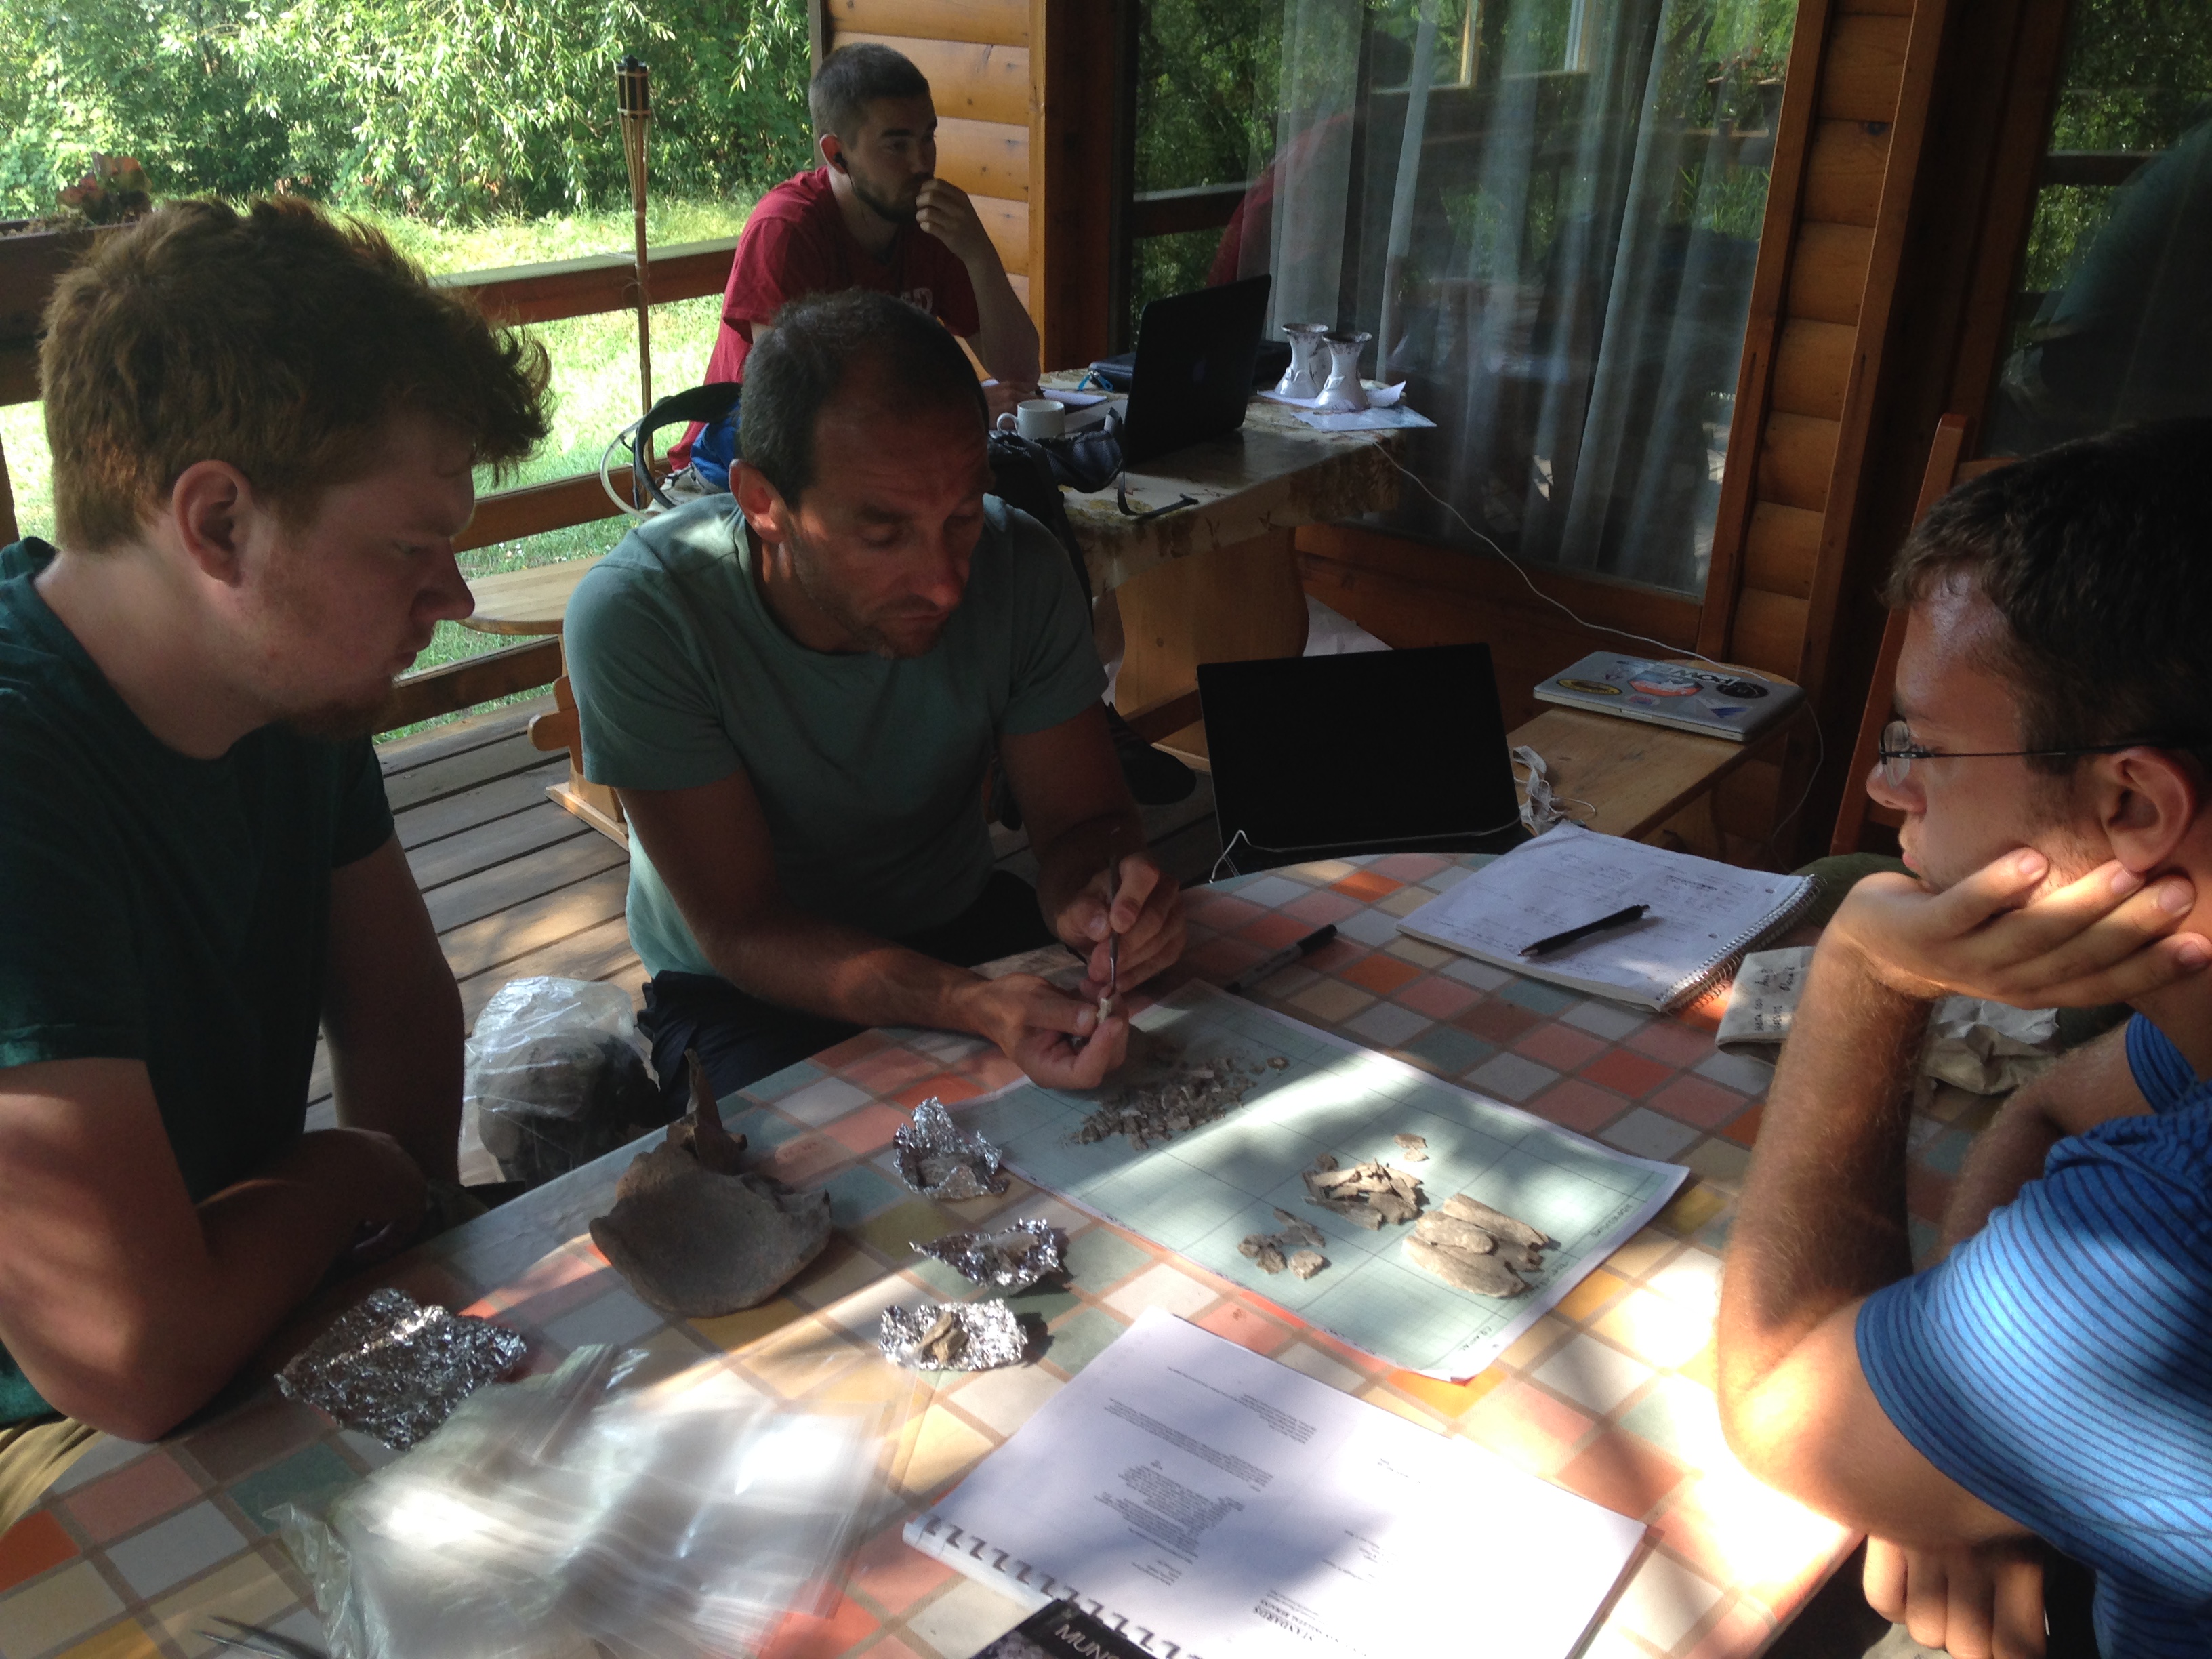
Hello from the ‘Boney Team’—us students who are working on osteology projects. We— Matt, Tucker, and Alana—would like to give you a glimpse into a day in the life of microexcavating burial urns from Békés 103. The information gained from this analysis will help us gain insight into the lives (and deaths) of the individuals of the Middle Bronze Age who called the Körös region of Hungary home
Microexcavation is the excavation of the contents of urns. We start by removing the burials from the field, and then painstakingly scratching away at the compacted earth inside to reveal the human remains within. The location of the bone is recorded and photographed, samples, such as DNA, are taken, and the bones are then lifted to be washed and further analyzed.
Our team uses this material to answer questions specific to funerary rites and demographics within our site. Since our work is pretty involved, we each want to give a brief synopsis from each of the steps of our data analysis.
Identifying bone by shape and structure.
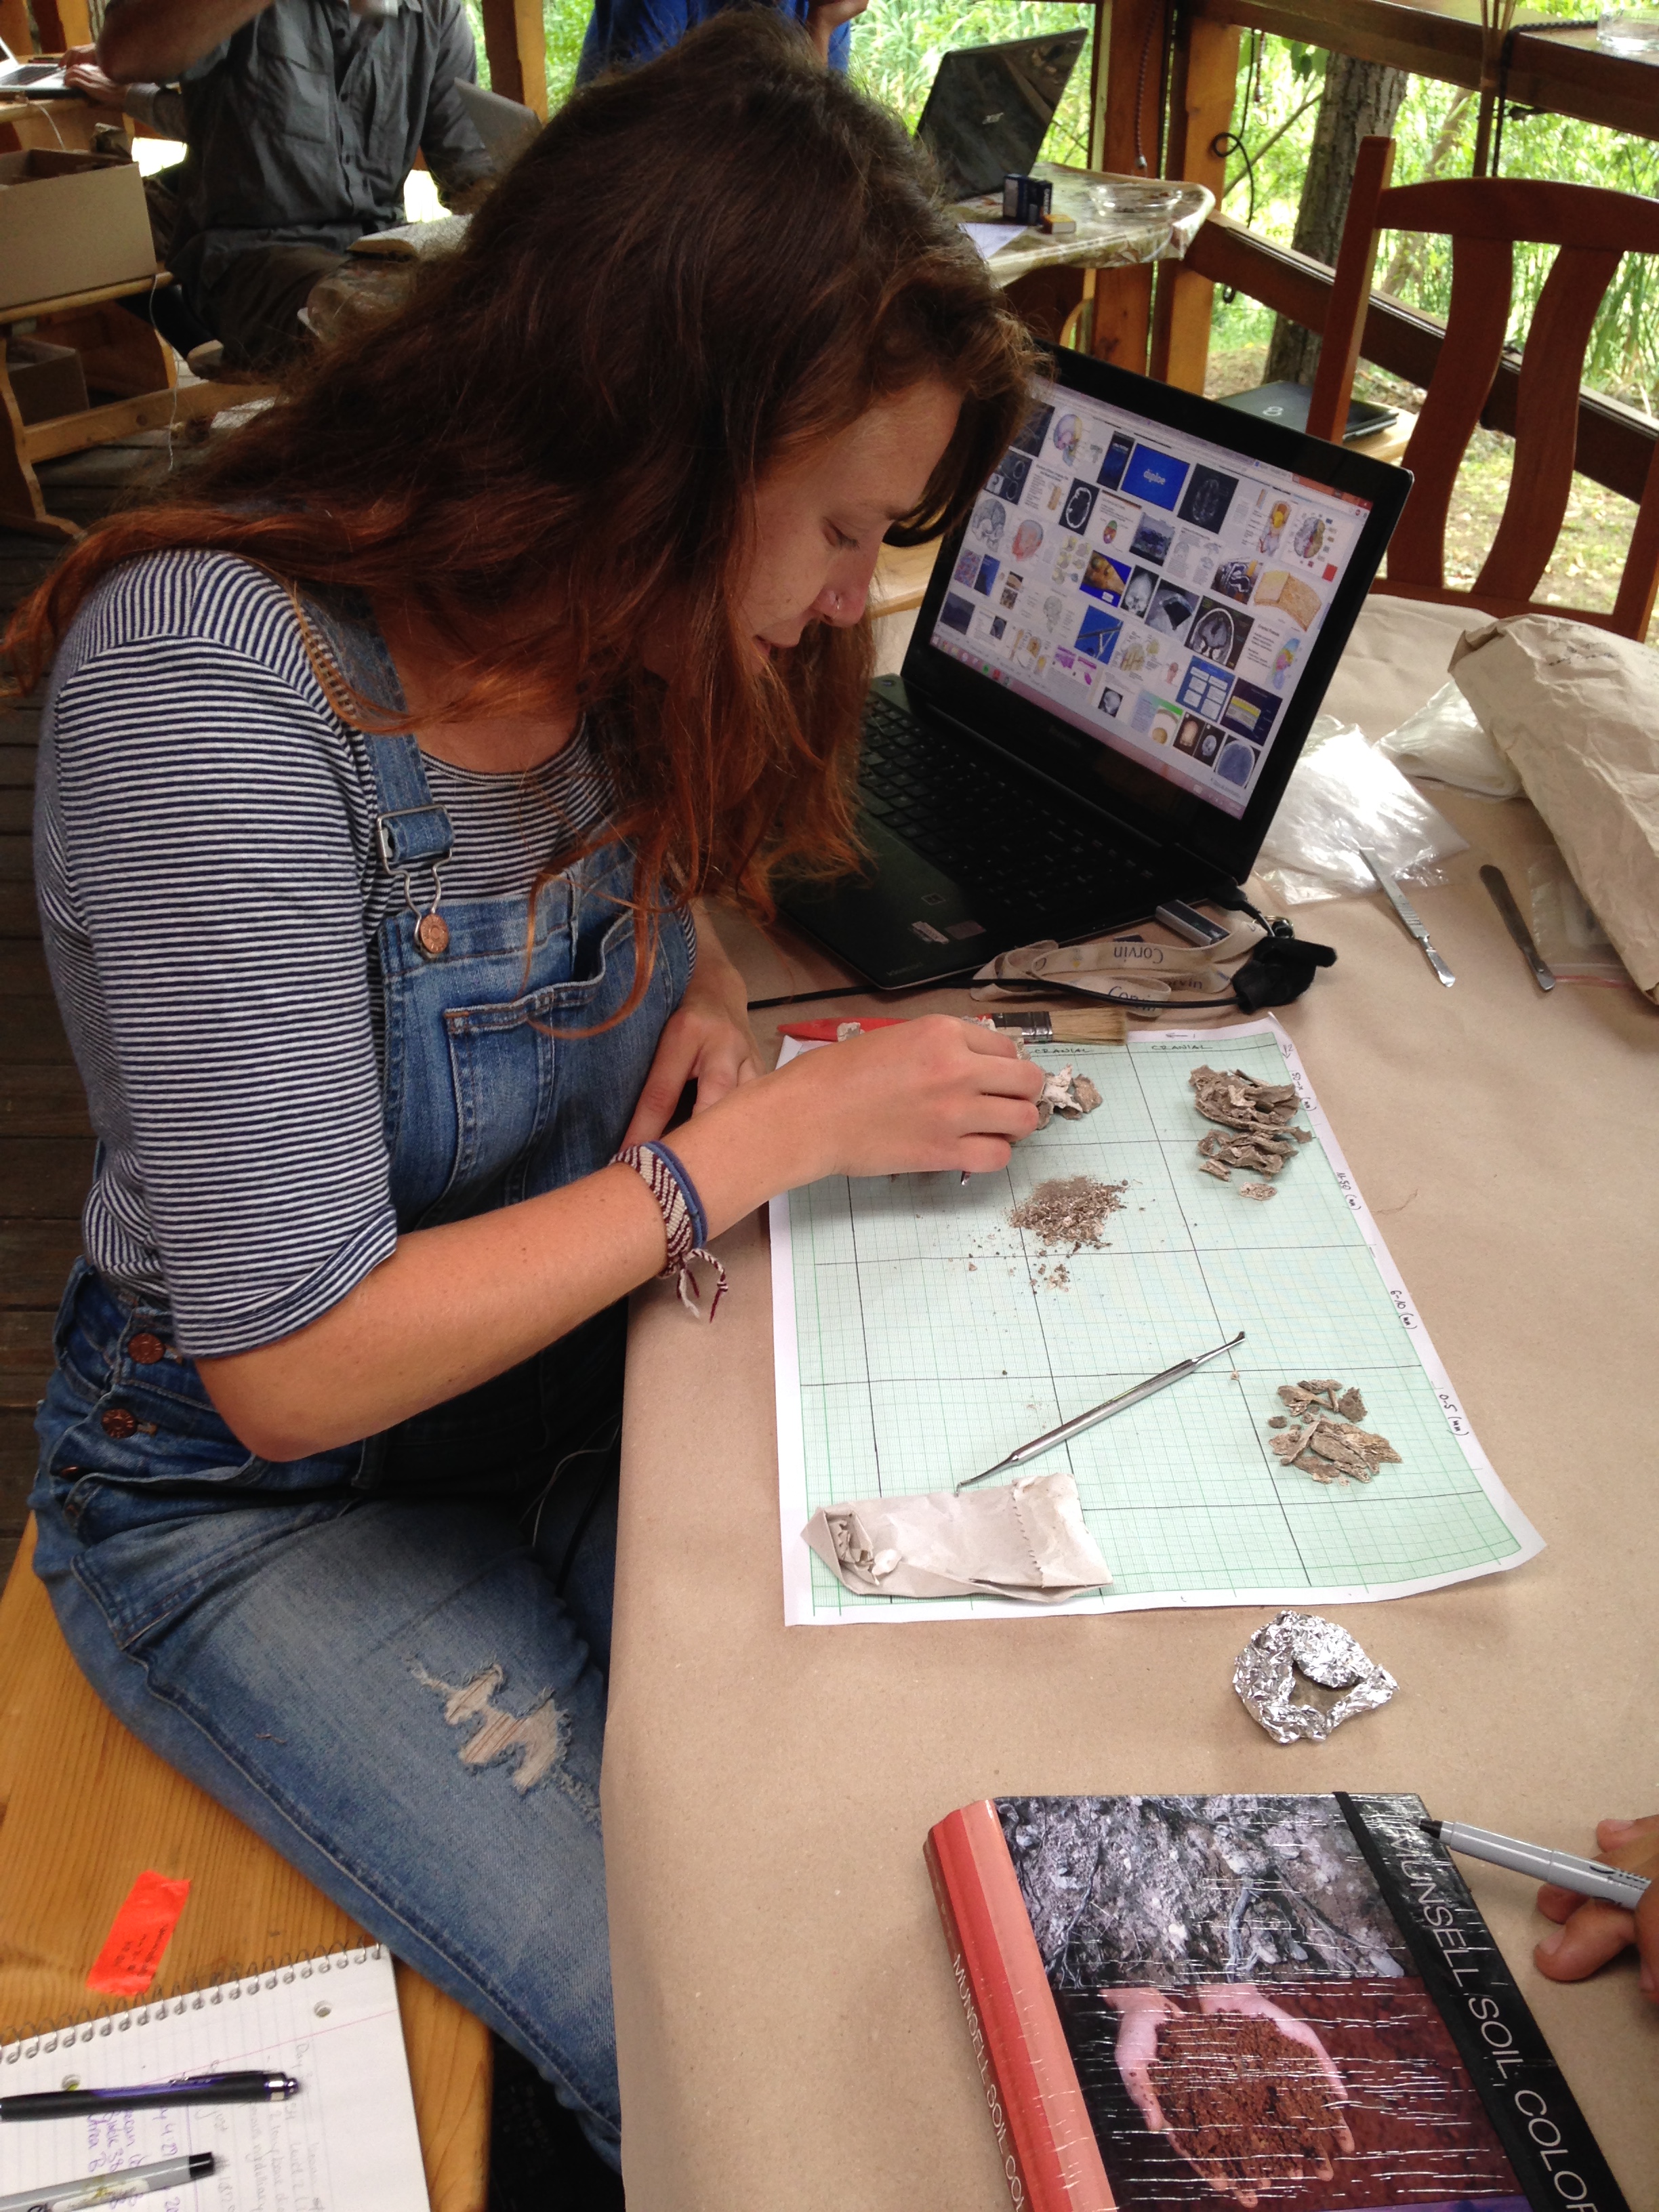
(ALANA) Trying to learn about cremated skeletal remains, or cremains, is a daunting task. It is my job to measure and sort the cremains. From this point, I evaluate bone size, shape, and where the bones are in the body to further sort the cremains. Because burning bone causes the bones to splinter, a large proportion of the cremains are too fragmented to be identified. For these very fragmented pieces I sort by bone type. This tells me the minimum number of individuals within the urns. We are also assessing the color, weight, and fracture patterns of the cremains to understand the site’s history.
 How to identify bone by color changes:
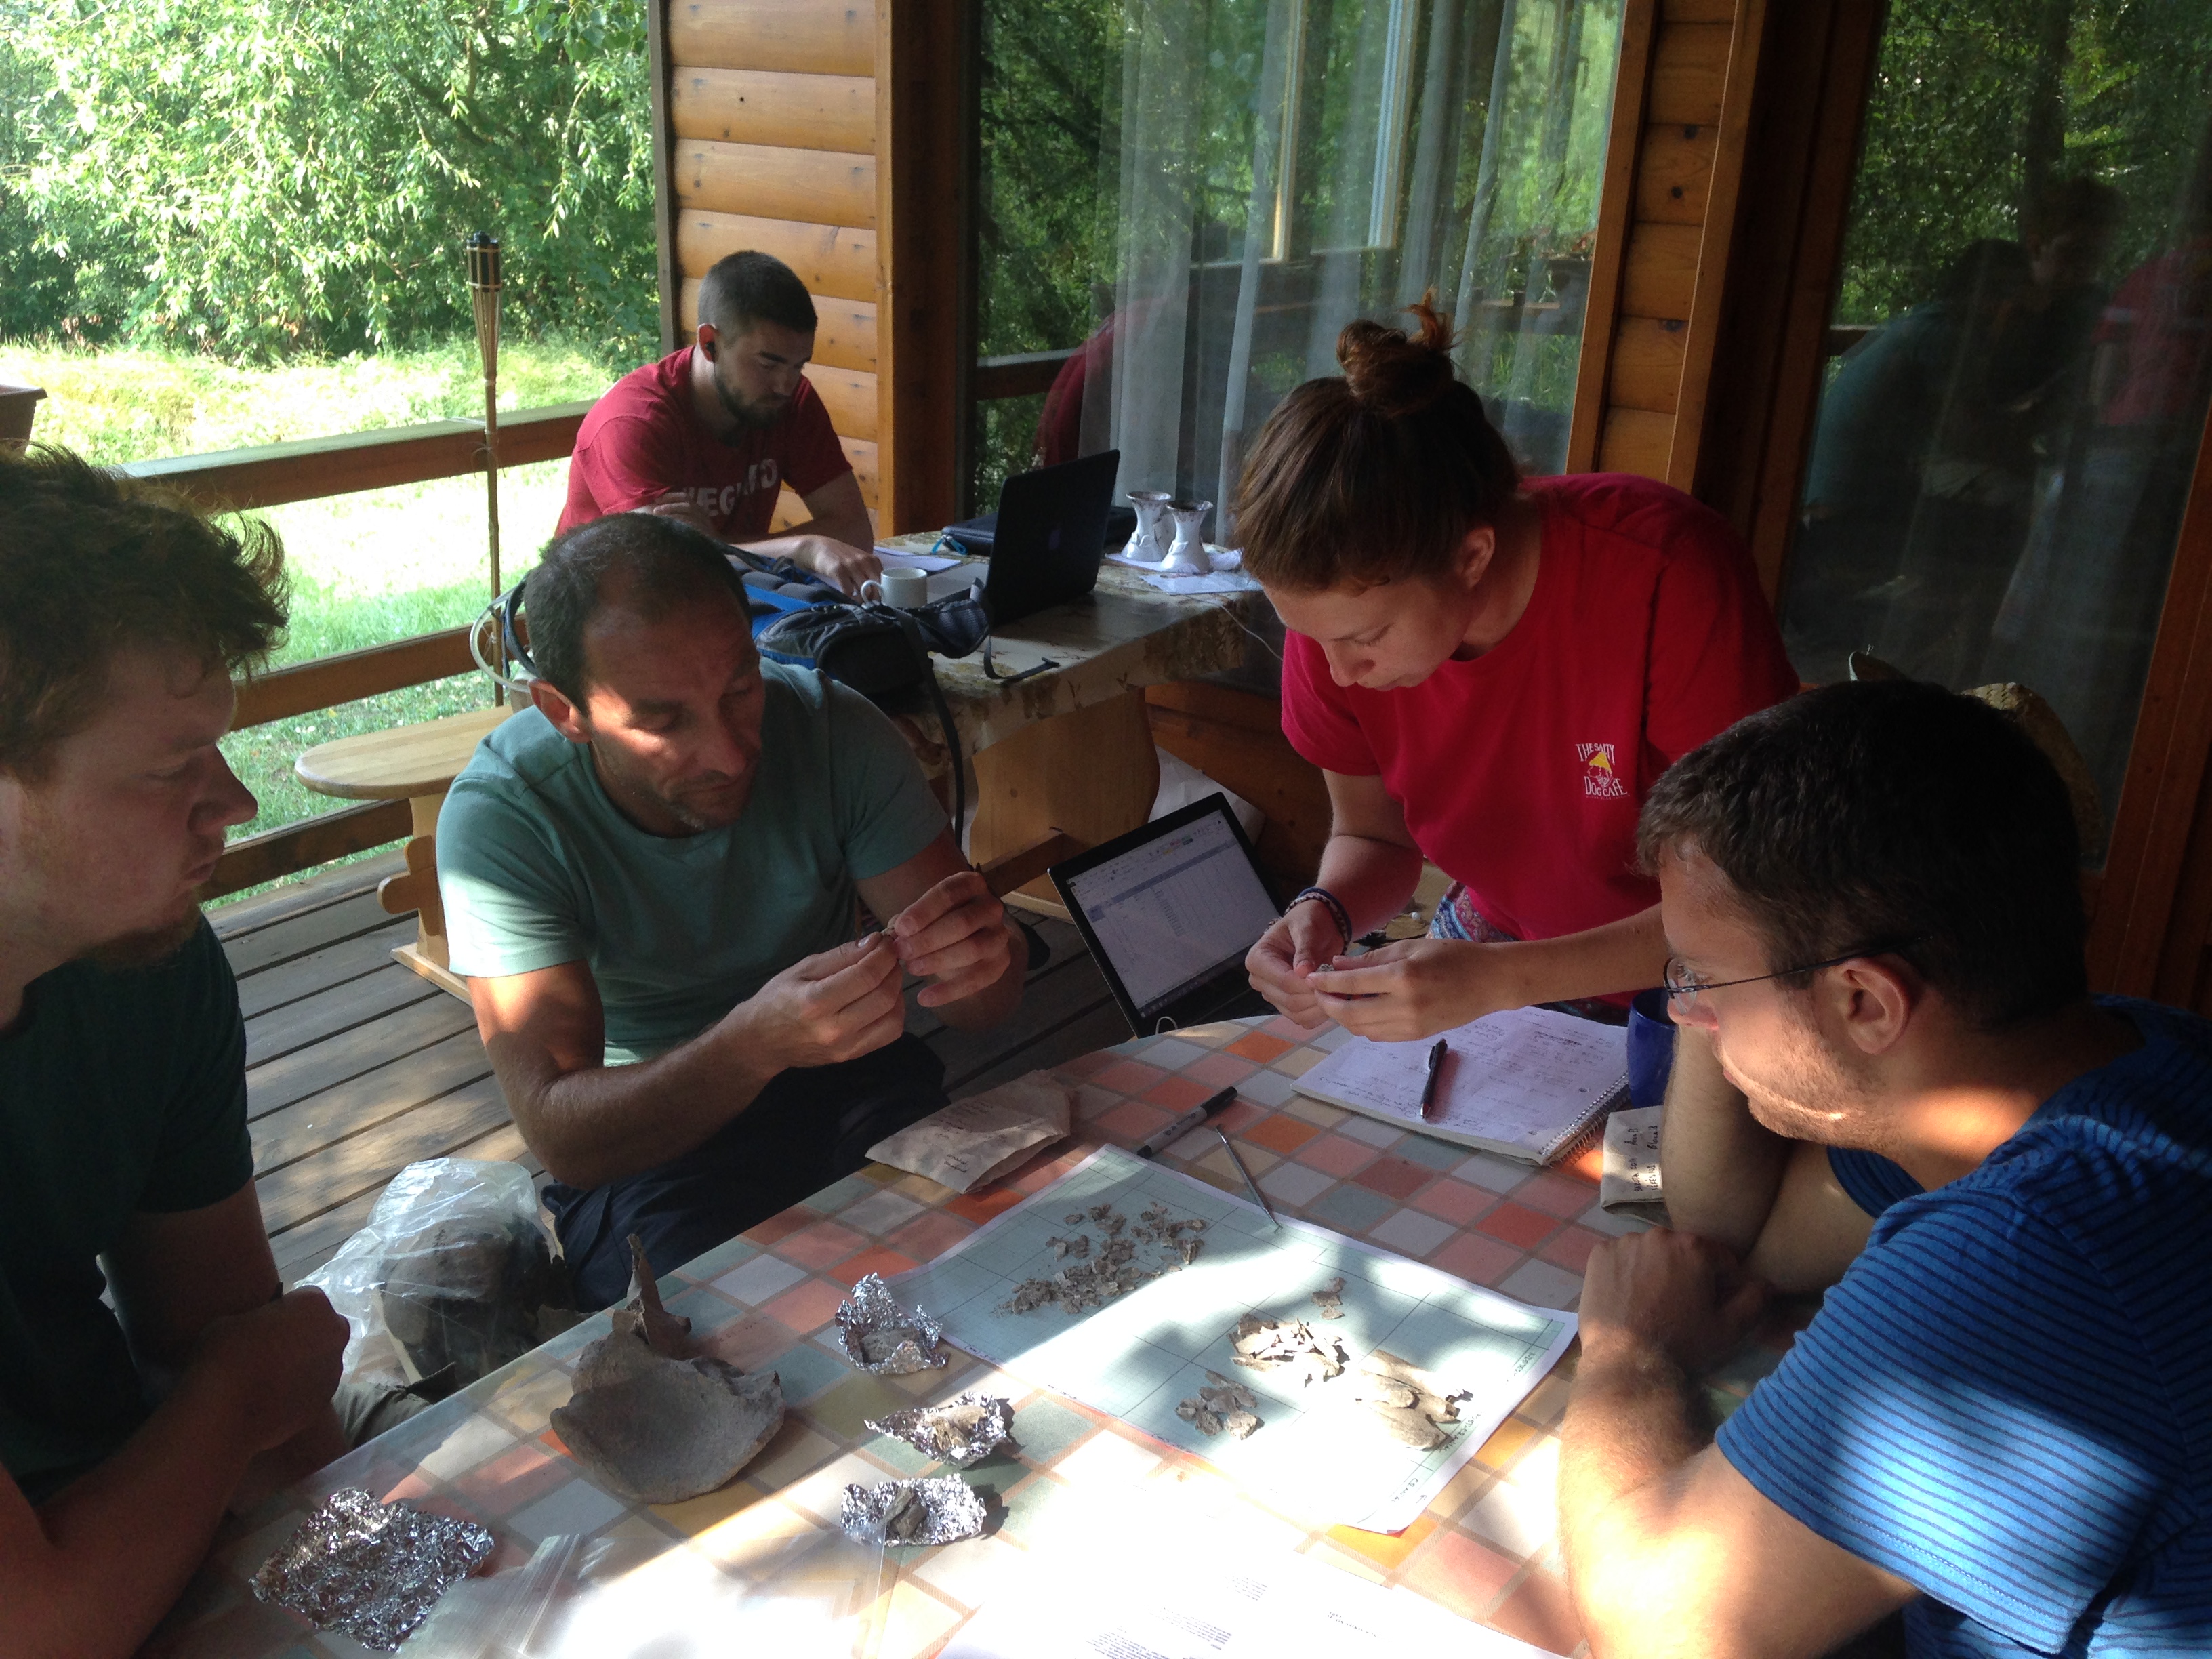
(MATT) Most people think bone is white. But I know from spending TK hours looking at bone that this is far from the truth. Take this bone that I have just picked up, it’s a marbled bluish-grey fringed with white. You see, burned bones, such as the cremated remains of the individuals revealed during excavations at Békés 103, can vary in color based on different aspects of the cremation, from a pale brown to black to white. We look at the color of cremated remains to estimate the temperatures and time that the bones were exposed to the heat.
As temperature increases bones go from their original pale brown color to a bright, chalky white. This color change is a useful way to estimate how individuals were cremated. But how can you identify these subtle color differences? After all, white is variable based on who you ask! That is why I use a more quantitative method of color identification—the Munsell Soil Color Book. Despite its name, it works for bones and is easy to use.
I take a little piece of bone and match it to one of the colors in the book. Making sure that I check it in different lightings to make sure that it is not just a trick of the time of day. Once I have what I think is match, I cross check with another color sample from the book. If it is very close to another color, I have to focus. Once I am certain, I tell Alana who notes it down. One down, a couple hundred more bones to go!
What broken bones can tell us?
(TUCKER) Bones are strong. So much so that even burning bones at very high temperatures does not destroy them completely but leaves tiny fragments that provide clues about the conditions under which the bones were burned, and what type of bones went into the fire. In my work as part of the Boney Team, I am focusing on the bone’s fracture patterns.
As I examine the bones, I compare the fractures I see on the bones with commonly known fracture patterns. For example, a thumbnail fracture pattern, where bent cracks run across the grain of the bone like stacked Pringle chips, tells me that the bone was burned with flesh still on it. How do I know this? It is because as a body is burning, the muscles contract in response to the fire. As the muscles contract they pull on the bones they are attached to and as a result crack the bones in a thumbnail fracture pattern.
Another pattern I spot is when the fractures are just below the surface. The look of this fracture pattern reminds me of an old oil painting, where the deeper layers of the paint have cracked. We call this a patina, and they helps me identify which bone I am looking at. The majority of patinas are found at the end of long bones, close to where they attach to the next bone.
After identifying the bone fracture pattern as a patina, I set about establishing if the bone was warped from its original form during the fire. The bone appears to have the normal shape that would be expected for this bone, so I determine that it is not warped.
Alana records my findings and I return the fragment to its bag.