
Blog posted by Kelly Gillikin
My name is Kelly Gillikin and I am a member of the two-person art crew for the Bakota Project for the 2015 field season. I am working under and learning from the very talented Dori Kekegyi, who is the head illustrator and burial map artist for the project.
I started my illustration training by learning to draw the reconstructed urns and other burial vessels with millimeter paper and pencil. In order to get the most accurate and detailed drawing of the vessels, I used special illustration tools. One such tool was the profile brush. This simple but ingenious device will mold to the shape of the pot so that I can trace the outline onto the paper. Other tools we use are the caliper to measure the thickness of a rim or handle and an interior diameter tool that will measure inside the vessel at specific heights. This is a useful tool for when I cannot get the profile brush inside the vessel to capture the interior curve of the vessels profile.
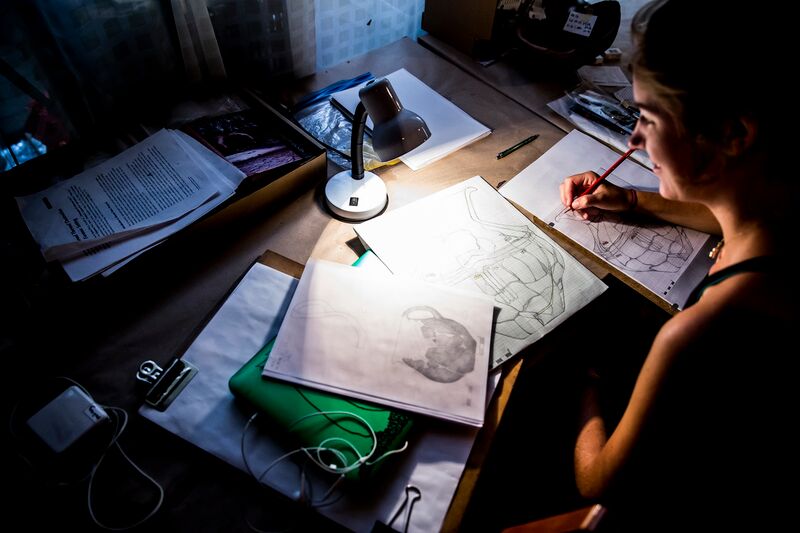
Photo Credit: Arpad Kurucz
With these tools and careful measurements of the original ceramic pieces, in relationship to the reconstructed plaster, I can create an accurate 2D drawing.
The next phase of the illustration of the vessel is to ink the lines and the profile I just drew onto a piece of trace paper. For some vessels that are too large we scan and shrink the original drawing so that it will fit onto the standard 8 by 11 paper. The inking is the most time-consuming part of the illustrators job. We use a very fine tipped pena needle really that feeds ink through the tip. We use this to make very fine and minute dots on the trace paper (probably millions). The closer and more concentrated dots will look darker and less concentrated dots will look lighter. The light, medium and dark dot concentrations are placed as if a light was shining directly on the belly of the vessel. The dots give shading and dimension to the illustration. It makes the 2D look a little bit more 3D so that researchers and students can visualize the vessels while reading the published article or book that these type of illustrations are found in.
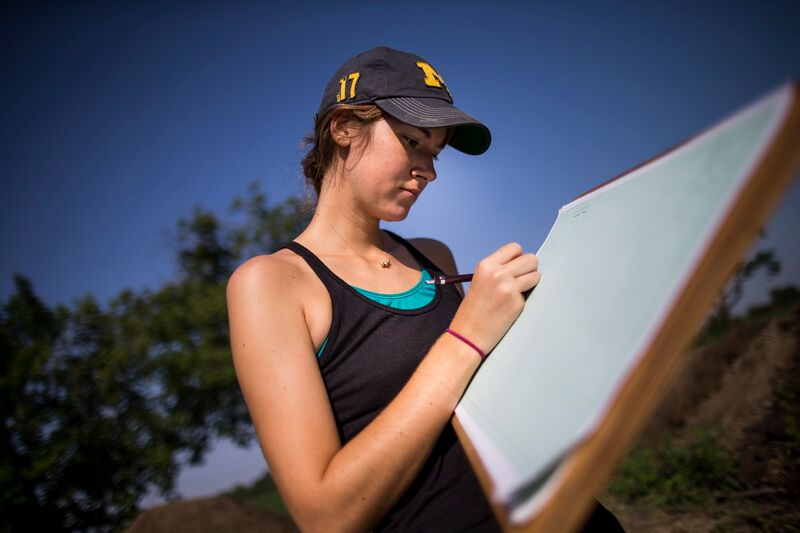
Photo Credit: Arpad Kurucz
Including the outline of the profile is incredibly important because later archaeologists can compare the profiles of their own pottery shreds to illustrations from published drawings to see similarities or differences in the pottery style and manufacture.
On the days that I went to the field, I either assisted Dori with drawing burials or I drew profiles of completed blocks. There are two kinds of maps we draw for the burials, a top, (or birds-eye) view, and a profile view (once the
excavators have found the bottom, or near bottom, of the burial).
The steps for drawing a burial from a birds eye perspective is as follows:
1. Determine the boundaries of the burial. If there are scattered pieces of ceramic that are related to the urn, these need to be in the drawing. Sometimes this occurs because of farming plows over the centuries can break the tops of the urn and move ceramic pieces away from the original burial site.
2. Lay down a long 1-meter or more ruler so that the ruler cuts the center of urn in half this line will also determine where you will be looking when you draw the profile of the urn.
When the tape measure is laid on the ground, the person who helped me, Kalyan, takes points with the RTK GPS device (Real Time Kinematic). These points are at 0 and at the extent of the burial boundary, approximately 50 centimeters. This is so that the burial
map can be placed within the larger picture of the entire site.
3. From this line measure with another ruler or measure tape how far away each ceramic piece or bone is from the center line. Mark on your paper where the center is and from there start measuring distances and eyeballing the shapes and curves of the various ceramic shards and burned bone fragments if they are present.
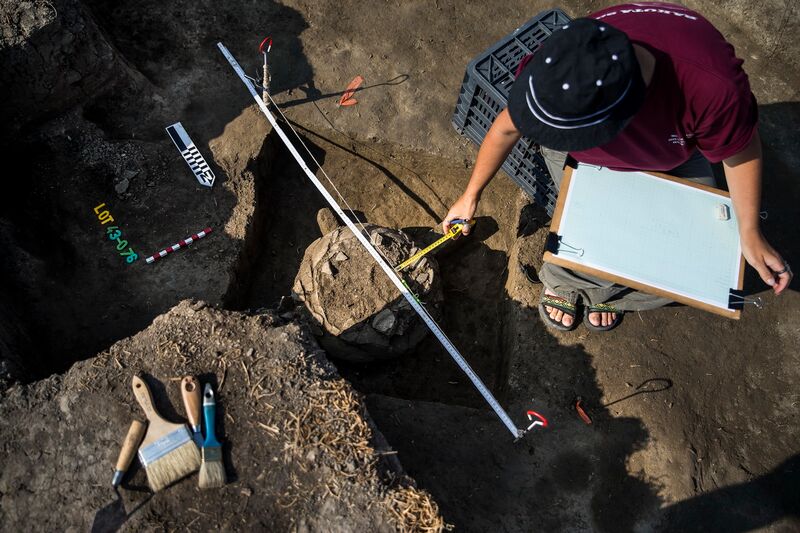
Photo Credit: Arpad Kurucz
Additionally, if special samples were taken we must mark those locations as well. We also include the photogrammetry markers in our drawing, these are red nails with numbers from 1-10 that Kalyan Chakraborty – the photogrammetry expert – uses in his photographs and later the program for making 3D models of the burials.
The profiles of the burial are drawn similarly to the birds-eye view. Only this time we take measurements going down. First thing is to set up the stick ruler where it will mark the edge of the 2D drawing. Also we set up a labeling line, which is a string set about 10 centimeters above the ground and along the same line as the stick ruler. We use a line-level tool to make sure the string is level. All the measurements made in the profile drawing must start from this line.
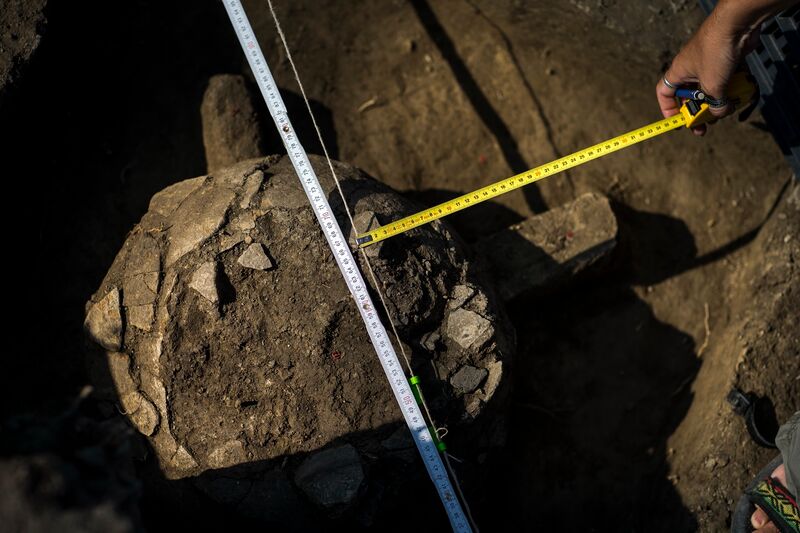
Photo Credit: Arpad Kurucz
Finally, there is the stratigraphy drawing of the block walls which is what I do mostly while in the field. I use the same method of drawing burial profiles but on a much larger scale. I lay down a long multi-meter measure tape then set up my labeling line. Sometimes a wall is too long for an accurate labeling line so I set up the line halfway and move it when I reach the halfway point to finish the wall.
I also need to get the North-ing, East-ing and elevation of each corner of the block from Kalyan and the RTK device so I can mark these exact coordinates on my profile drawing. When I have my measure tape set and my labeling-line up and even, I begin to take points. I measure between about 10-50 centimeters apart, depending on how long or complicated the stratigraphy is.
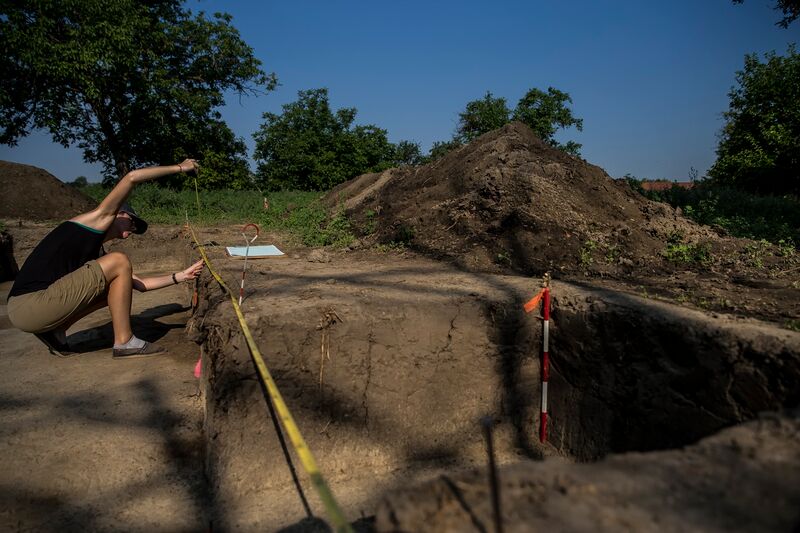
Photo Credit: Arpad Kurucz
The measurements I take are at the top of the block, the end of the plow zone, the end of the paleo soil, and the beginning of the subsoil and finally the bottom of the block. I also include any charcoal, large roots, ceramic or daub I see in the profile while drawing. I also note if there are any animal burrows or cultural features that were identified by the excavators.
These are the jobs of the archaeology illustrators varying and complex role with high attention to detail for the best accuracy possible. Most people will say, why are photographs not good enough? Because photographs will reveal too much detail and your eyes will be overwhelmed by the muted brown tones of the ceramics and dirt (sometimes there is little difference in color between ceramic and dirt). However, the eye of an artist will only draw what is needed for the archaeologists to study and analyze.
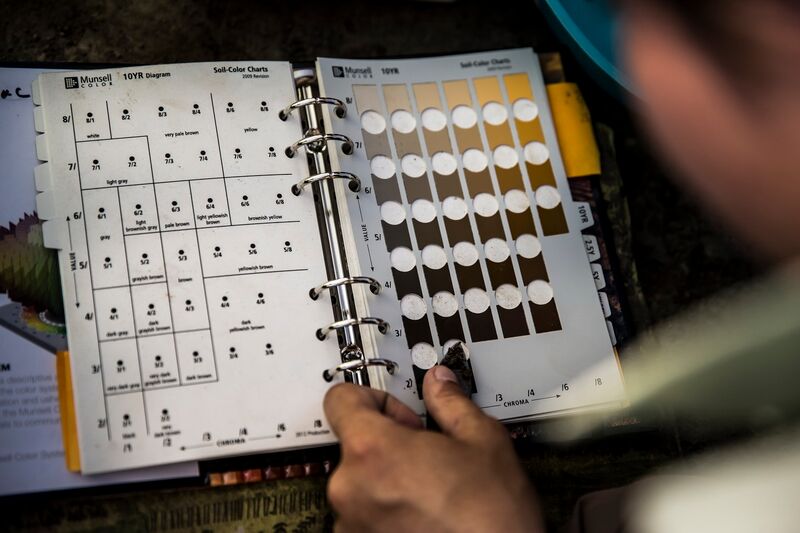
Photo Credit: Arpad Kurucz